
Building a fiberglass boat from a mold could be a rewarding DIY project. The whole job needs careful planning, patience, and time. From preparing the mold to giving it a good look, every step matters.
This article presents a step-by-step guide to building a fiberglass boat. It includes everything from choosing the right material to making the mold to achieving a good finish. You can follow this guide to create your own boat. For more expert assistance, you can contact our customer support team.
What is a Boat Mold?
A boat mold is a specialized, reusable form used to construct boat hulls and decks. It can be used for the mass production of the same shapes and sizes. In the production of the fiberglass boat, the mold is the main functional component. It acts as the physical template of the boat. This template later makes the entire structure of a boat hull and deck.
For your better knowledge, there are two types of boat molds used in manufacturing. One is a female mold that defines the exterior shape, creating a smooth finish on the exterior. On the other hand, another type is known as male mold. This mold is a positive structure that confirms the boat is finished to perfection. Many builders use male molds to create female molds, just to make a smooth inside structure.
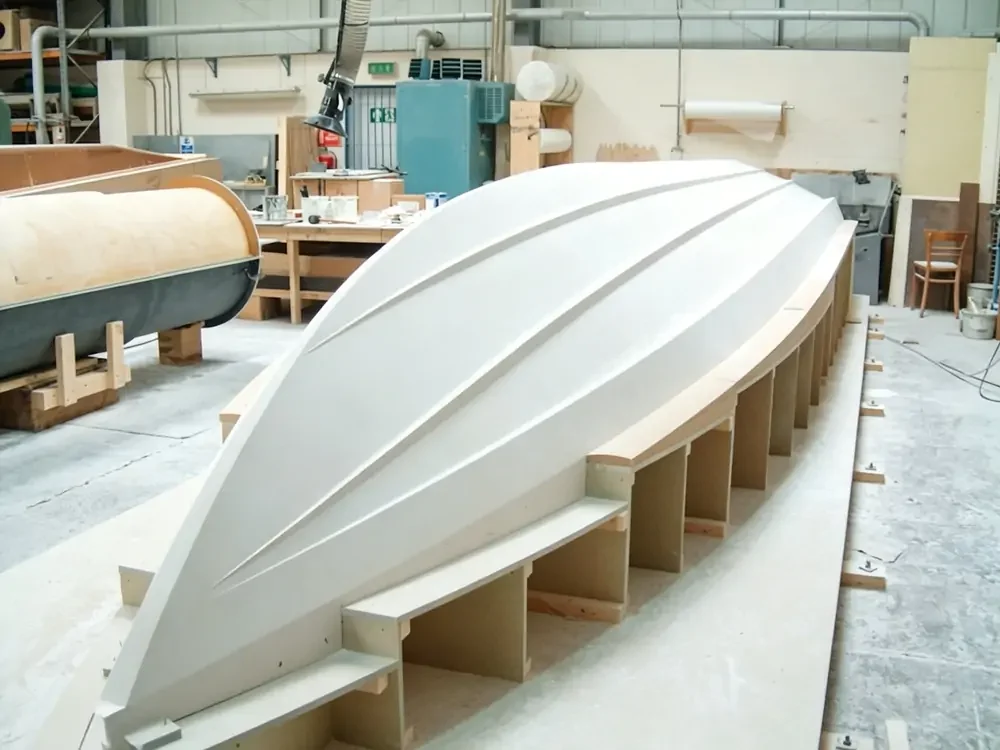
The surface of the boat mold must be smooth and perfectly shaped. If there is any dent, scratch, or anomaly on the mold surface, it might lead to a similar anomaly on the boat surface. This way, your boat may not be very functional during use. To avoid such issues, builders spend time polishing, sanding, or often waxing. This meticulous preparation makes a professional finisher.
Boat molds have three primary applications in the marine industry. Firstly, these molds enable the quick production of identical fiberglass hulls in factories. Secondly, the commercial sector uses deck molds to produce various types of interior floors, seating areas, or storage lockers. Lastly, they are used for testing hulls before starting mass production.
Materials and Tools You’ll Need
To build a fiberglass boat, you will need the right materials and tools. Low-quality materials may not provide a durable solution. Good supplies help create a stronger and longer-lasting boat. Specifically, pay attention to the structural components and ensure they can support the load. The following table lists all necessary materials and tools, along with their unit prices.
| Materials/Tools | Purpose | Estimated Cost (USD) |
|---|---|---|
| Fiberglass Cloth, 12 oz Biaxial Mat | Hull skin, transom layers | $12-$17 per yard |
| Resin + hardener, epoxy | Bonds fiberglass layers | $65-$110 per kit |
| Polyester resin | Lower cost Alternative to Epoxy | $35-$50 per gallon |
| Gel Coat | Outer Finish if using polyester resin | $70-$95 per gallon |
| Marine Polyurethane paint | Finish if using epoxy resin | $90-$135 per gallon |
| Mold release agent / PVA | Helps hull release from Mold | $15-$25 per bottle |
| Brushes / Rollers / Squeegees | Applying resin and removing bubbles | $10-$25 per set |
| Sandpaper/sanding discs | Surface prep and fairing | $15-$30 per pack |
| Grinder / electric sander | Shaping, sanding, and repairing | $40-$90 each |
| Safety gear | Gloves, goggles, respirator, coveralls | $35-$60 set |
| Foam core/honeycomb core | Decks, sides, lightweight panels | $60-$120 per 4×8 sheet |
| High-density transom foam / Coosa board | Transom and screw-holding areas | $350-$550 per sheet |
| Stringer foam | Keel and side structural support | $25-$50 per piece |
| 2 lb flotation foam | Under-deck buoyancy and sound dampening | $100-$140 per 2-gallon kit |
| 3M 5200 marine adhesive | Bonding stringers/panels | $22-$28 per tube |
| Fairing compound | Filling hull imperfections | $45-$75 per kit |
How to Build a Fiberglass Boat: Step-by-Step Guide
This step-by-step can help you avoid many common mistakes during the process. It is especially useful if you are a beginner and want clear guidance from start to finish. If you plan to customize your boat, carefully check the compatibility of the resin, fiberglass, foam core, and other materials before you begin.
Step 1: Prepare the Mold
The very first thing you need to create a fiberglass boat is the boat mold. In this case, you will need two different types of molds: female and male. The female mold forms the boat’s external shape. On the other hand, the male mold forms the internal shapes. In earlier days, people used wooden plywood frames for the male molds. However, today, both molds are made of fiberglass-reinforced plastic or other durable composite materials.
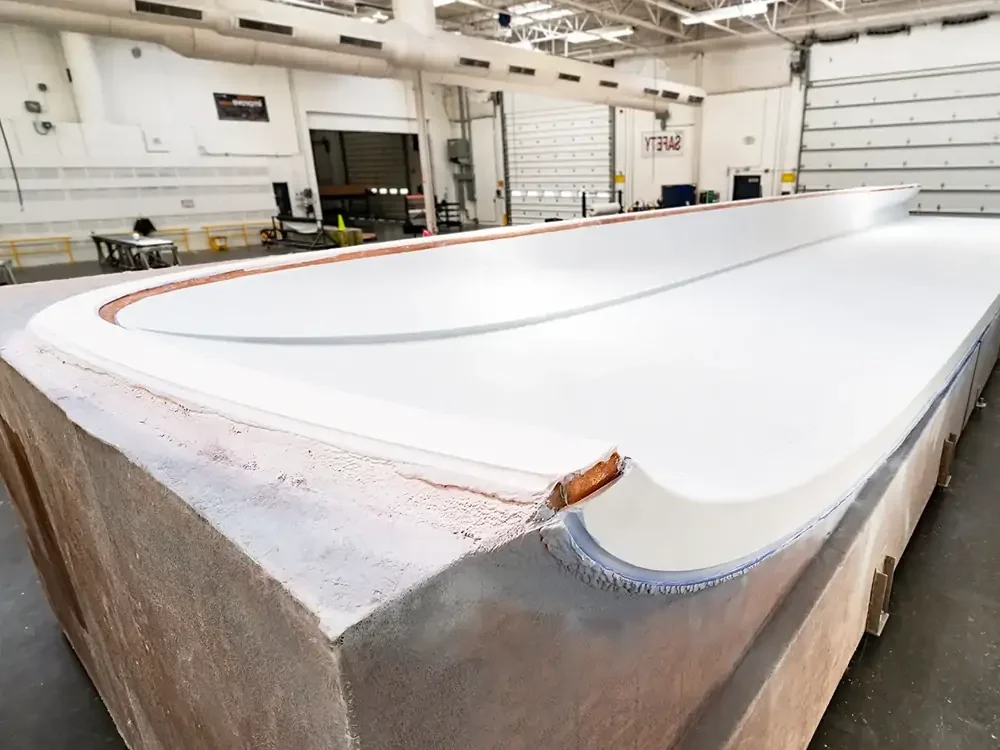
So, you’ve got the molds, and it’s time to start making the fiberglass boat. First, check the surface condition. If there is any dirt or dust, make sure to clean off the surface to make it smooth. You can sand the surface to remove any imperfections. Otherwise, this dirt and dust may ruin the release agent’s quality, leading to an improper boat finish.
Step 2: Apply Mold Release Agent
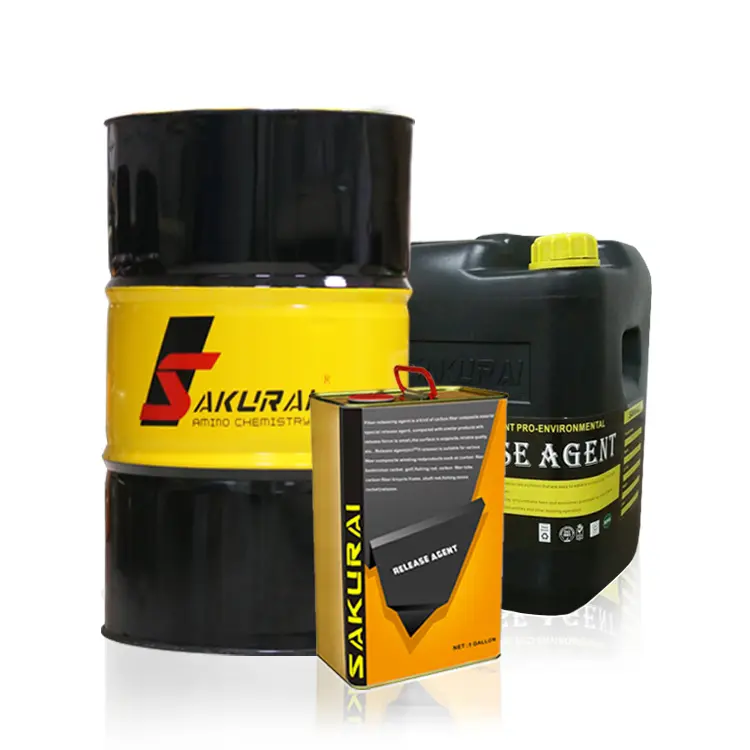
Release agents are the most important elements used for building a fiberglass boat. They create a slick, chemical-resistant barrier on the mold surface. It prevents liquid resins from bonding to the surface, allowing the hull to separate safely.
Always apply the mold release agent when the surface is properly clean. Recheck the surface, then apply five or six coats of paste wax to the clean mold. After waxing, apply a polyvinyl alcohol (PVA) release agent to the top. It creates a barrier between the mold and the molded part, preventing the molded part from attaching.
Step 3: Apply Gel Coat or First Resin Layer
Gel coat is one of the essential components in the process of making a fiberglass boat. It makes the boat’s smooth, colorful outer skin and protects the underlying material. Try to keep this layer 20 to 25 mils thick. With this layer, you can create a shiny, long-lasting outer skin for the boat. After the application, let it cure properly.

Step 4: Choose the Right Resin
Choosing the right resin also matters a lot. It determines your boat’s strength and the level of water protection. To achieve optimal results, select your plastic resins based on the strength and the project budget. You may use polyester, epoxy, and other resins. Polyester is well-known for its rapid curing and affordability. Epoxy resin is costly but comparatively strong and waterproof. Never mix different resins together.
Step 5: Laminate the Hull Structure
Make fiberglass cloth or a mat to fit your mold. Apply the first layer onto the gelcoat. This initial layer helps prevent the fabric texture from showing on the outside. After this, apply the mixed resin on fiberglass cloth. In this case, use a brush or roller to avoid bubbles or white blanks and saturate the cloth.
Add a layer of fiberglass, but one at a time. Use woven roving and chopped strand mat alternately. Each layer offers more strength due to its thickness. Allow each layer to dry for a while before applying the next layer. Typically, small boats need four to six layers. But larger ones may need more layers based on the size.
Step 7: Add Stringers and Structural Support
Stringers are the strips of foam or wood. These parts are longitudinal and run along the bottom of a boat’s hull. It’s one of the main parts of a boat and serves as the backbone. Make sure to place the stringers properly; it will make the boat stronger and safer.
Step 8: Release the Hull from the Mold
Wait for the hull to cure fully. It may take 24 to 48 hours for curing. Insert the wooden wedges in the mold edges. Never use metal tools for this work, since they can cause damage. Separate the hull from the mold slowly and evenly. If you notice any rough edges, trim them with a grinder when building a fiberglass boat.
Step 9: Fair, Sand, and Finish the Hull
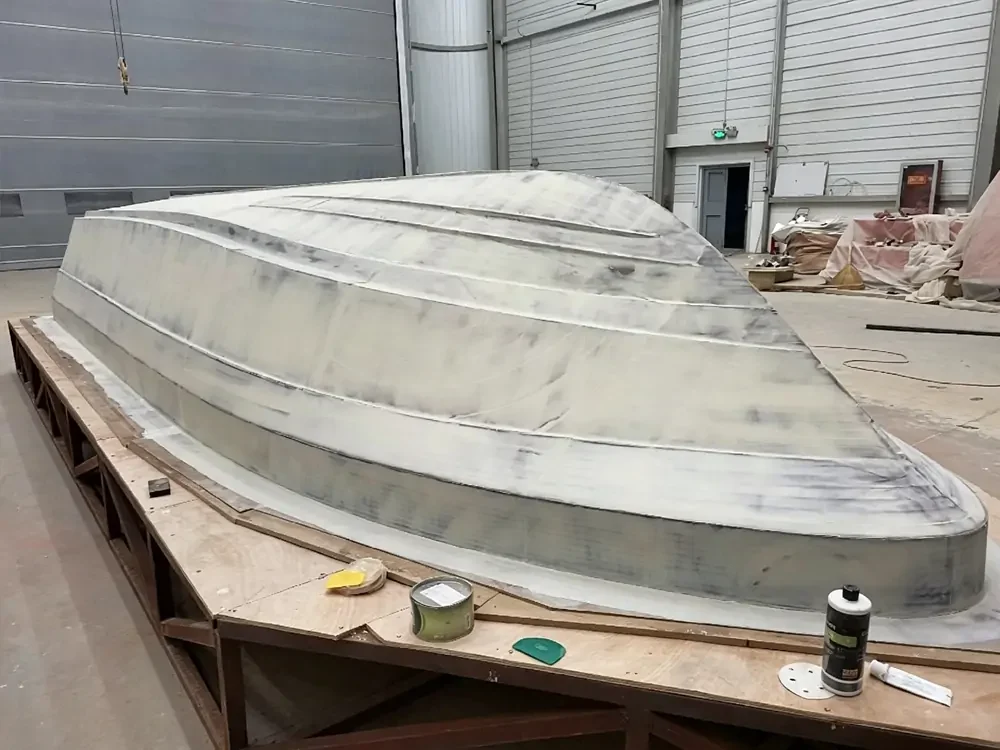
Inspect your hull for any imperfections or missing portions. If so, fill them with fairing compound and ensure there are no imperfections. You may sand the hull progressively. Start with 80 grit and end up with 400 grit. Apply an epoxy coating in 2-3 layers, then lightly sand each layer.
Step 10: Build the Deck and Interior
Build the deck as a separate fiberglass lay-up. You can use fiberglass tape and glue to attach it to the hull. Seal all joints carefully inside and outside. Fit bulkheads and floor supports. Add seats and storage areas. For interior woodwork, use marine-grade plywood. At this point, coat the wood with epoxy resin to prevent rot and water damage when fiberglassing a boat.
Step 11: Add Hardware and Final Details
Install all the necessary hardware one by one for building a fiberglass boat. These hardware items include cleats, hatches, bow eyes, steering, and so on. Mount the motor outdoors on the transom. Add a light and bilge pump. Set up your battery and cable wiring perfectly. Add foam in the enclosed spaces. Double-check all the hardware and component attachments. Do a water test before taking the boat.
Conclusion
Building a fiberglass boat is a bit challenging, but also highly rewarding. Follow all the steps carefully, from choosing materials to finishing. Thus, you will create a strong, beautiful vessel. Grab all the necessary gears, prepare your mold, and start laminating.
For further inquiries, don’t hesitate to contact us. If you need any help, we are always ready to provide accurate information and assist you.