
Almost 99% of plastic parts used in regular applications are produced by injection molding. It is the most common method of shaping elastomer products. And it is widely needed in automotive, electronics, and medical devices. When working with injection molding, defects can happen. There are various reasons for various types of injection molding defects.
Don’t worry! There are solutions to avoid such defects and create high-quality parts. One crucial solution is to use mold release agents. In this article, we will learn the most common injection molding defects and solutions. You will also learn how a mold release agent can reduce these defects and ensure a consistent production line.
Role of Mold Release Agents in Injection Molding
Mold release agents are the chemical-formulated substances used in injection molding. When you apply it to the mold surface, it creates a non-sticky layer between the mold surface and the product. Using them on the mold surface makes the entire process more reliable. It stops the polymer from sticking to the surface during cooling.
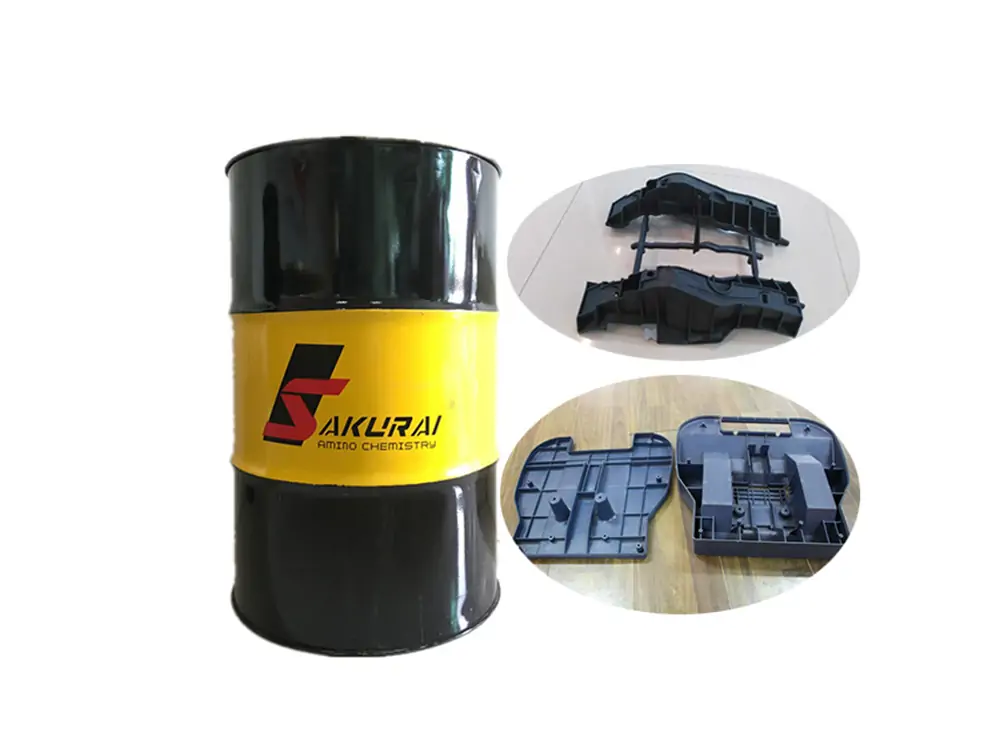
Mold release agents typically come in various forms. The most common forms include sprays, wax, oils, and many more. You can use them directly on the mold using a brush, cloths, or spraying. Also, you can mix it directly into plastics as an internal agent. Either way, the RA acts as a barrier between the mold and the molten material. Without this layer, plastics or other materials can easily bond with the mold surface. Some of the most common benefits of mold release agents are:
- The primary reason for using RA is to prevent the molded part from sticking to the mold surface.
- It lowers friction during part ejection. As a result, it speeds up ejection and production rates.
- After Completion, it ensures a perfect and damage-free ejection.
- The mold release agents also improve the quality and appearance of the final part.
- Reliable release agents lead to nearly zero wear and maintenance costs in the long term.
- Provides uniform results throughout the entire process.
Overview of Common Injection Molding Defects and Solutions
Injection molding defects may affect both the appearance and functionality of the parts. To restore, extra work increases the production costs. Besides, defects also increase rejection rates. Therefore, understanding these defects is crucial. You must know what causes them and how to prevent them.
| Defect | Common Cause | Solutions |
|---|---|---|
| Flow Lines | Low melt temperature, slow injection speed, inconsistent cooling | Increase melt/mold temperature, optimize injection speed, redesign gate location |
| Sink Marks | Uneven wall thickness, insufficient packing pressure, improper cooling | Increase holding pressure/time, redesign part thickness, improve cooling |
| Surface Delamination | Material contamination, moisture, incompatible additives | Use clean and dry material, improve material compatibility, and optimize processing temperature |
| Weld Lines | Multiple flow fronts meeting, low temperature, poor venting | Increase injection speed and temperature, improve venting, and reposition gates |
| Short Shots | Insufficient material flow, low pressure, blocked gates | Increase injection pressure/temperature, enlarge gates, improve venting |
| Warping / Warpage | Uneven cooling, residual stress, inconsistent shrinkage | Inconsistent shrinkage; Optimize the cooling system, ensure uniform wall thickness, and adjust the mold temperature |
| Jetting | Excessive injection speed, poor gate design | Reduce injection speed, modify gate size or location |
| Flash | Excessive injection pressure, mold misalignment, and worn mold | Reduce pressure, improve clamping force, and repair mold surfaces |
| Burn Marks | Trapped air, excessive temperature, poor venting | Improve venting, lower melt temperature, and reduce injection speed |
| Splay Marks | Moisture in material, trapped gas, and resin degradation | Dry material properly, optimize temperature, improve venting |
| Voids & Bubbles | Trapped air, thick sections, uneven cooling | Increase packing pressure, redesign thick sections, improve cooling consistency |
| Gate Vestige | Poor gate trimming, improper gate design | Optimize gate type/location, improve trimming process, and adjust molding conditions |
Flow Lines
Flow lines in injection molding may appear as wavy, off-color, or band-like streaks on the surface. Generally, flow line parts appear slightly different in color from other places. In most cases, they appear on a narrow section of the item.
Causes:
- Melt, or Mold Temperatures are too low. When causing solidification, flow lines may appear.
- Slow filling may allow the plastic to cool before the mold is full.
- When you place the gates improperly, it may create higher shear, friction, and uneven flow. Eventually, it causes flow lines.
- When you drastically change the wall thickness, it may cause uneven cooling rates. As a result, flow lines may appear.
- When there are obstructions in the mold, the flow front may stall. As a result, a flow line may appear.
Solutions:
- You can reduce flow-line defects by adjusting process parameters. Try increasing the injection speed, temperature, and pressure.
- Try to optimize the mold design. In this case, pay special attention to venting, gate size, and fillets.
- You can also try increasing the nozzle diameter and ensuring proper material drying.
Sink Marks
Sink marks are small indentations on the surface of molded parts. Generally, these marks come on the thicker sections of the parts. They form when the outer layer solidifies, and the inside layer shrinks during cooling.
Causes:
- Large wall thickness leads to uneven cooling and shrinkage.
- Low holding pressure doesn’t compensate for shrinking.
- A too-small gate may also restrict smooth material flow.
Solutions:
- You may increase holding pressure and cooling time to avoid shrinkage.
- Try to reduce wall thickness while making it functional.
Surface Delamination
Surface delamination is a type of peeling or flaking from the surface of a molded part. After separation, it looks like another sheet of the part. Consequently, it weakens the material structurally and degrades the finish and appearance.
Causes:
- During processing, contaminated resin materials may mix.
- Excessive moisture in resin leads to surface delamination.
- Incompatible plastic polymer blending can be a strong reason.
Solutions:
- Avoid mixing incompatible materials.
- Dry the resin according to the instructions.
- Always clean the injection hopper.
Weld Lines
Weld lines are visible surface markings that result from two or more flowing fronts. They form where two flow fronts meet. It results in weaker physical spots.
Causes:
- Low melting point leads to this issue.
- Slower plastic injection speed during the process.
- Relatively poor gate position design.
Solutions:
- Enhance the mold and melt temperature for smooth flow.
- Increase the injection speed and optimize the gate position design.
Short Shots
Short shots occur especially when your molten plastic fails to fill the mold cavity properly. Generally, at that moment, parts come out with imperfections and missing parts, such as edges.
Causes:
- When the plastic shot size is lower than the requirement.
- Insufficient injection molding pressure.
- Trapped air often disrupts material flow, leading to incomplete filling.
Solutions:
- Raise the shot volume for production.
- Increase the pressure limit and clear the vents properly.
Warping/Warpage
Warping, also known as warpage, is the twisting or the distortion of a molded part after ejection. As a result, the part loses its exact shape and strength. It is caused by uneven shrinkage or cooling inside the mold.
Causes:
- Uneven cooling that shrinks the part severely, causing it to bend.
- Applying a massive amount of injection holding pressure.
- Besides, high internal residual stress can also affect molding by warping.
Solutions:
- Make sure to maintain a uniform cooling temperature along the production line.
- Optimize design with proper wall thickness.
- Try to lower the holding pressure.
Jetting
Jetting is more like entering into the cavity with a wavy form or snake-like pattern. Molten plastic enters the cavity without touching the walls or filling smoothly. It solidifies quickly before even packing, causing weak spots and an incomplete design.
Causes:
- Using high-speed force to fill the cavity enables the jetting.
- Utilizing a narrow gate dimension for molten materials.
- The low melting point of the polymer.
Solutions:
- Minimize the initial injection speed.
- Enlarge the gate dimensions to ensure smooth flow.
- Raise the melt temperature.
Flash
Flash is an excess of plastic material. It escapes the mold cavity beyond the mold parting line. You can see it in the parting or ejector pins. It adds extra materials for parts that need extra trimming.
Causes:
- Providing excessive injection mold filling pressure.
- Insufficient metal clamping force allows halves to separate.
- Using a damage component that creates an escape way for the material.
Solutions:
- Increase the machine clamping force.
- Lower the speed and injection molding pressure.
- Use fully functional, high-quality components for each production.
Burn Marks
Burn marks look brown or dark. Typically, this discoloration occurs on the surface of the molded part near the end of the flow path.
Causes:
- Trapped air compresses quickly or overheats and burns.
- Using rapid injection to feel speed.
Solutions:
- Try to clean out the mold vents to let trapped air escape.
- Minimize the injection speed at a moderate level that suits the process.
- Reduce the melt temperature to stop material degradation.
Splay Marks
Splay marks are silver or silver streaks. Generally, it comes to the surface of the molded part on flow lines. These imperfections appear from trapped moisture or gases that escape from the plastic material flow.
Causes:
- A common reason is moisture in the resin or undried resin.
- Gas from material breakdown leaves silver streaks.
- Trapped air during feeding.
Solutions:
- Dry out the resin before processing.
- Minimize the melting temperature to avoid resin degradation.
- Lower the injection speed to reduce gas formation.
Voids & Bubbles
Voids are usually air pockets that remain within the thick walls of molded parts. These air pockets are invisible from the outside. They weaken the parts’ structure and are mostly found in thick sections.
Causes:
- Using less pressure that does not hold plastics tightly.
- Wet raw resin materials.
- Thick wall part designs.
Solutions:
- Dry all materials thoroughly before molding.
- Try to make thicker sections thinner or hollow.
- Increase the holding injection pressure.
Gate Vestige
Gate vestige is the excess material left behind on the surface. You may witness this excess material after ejection, which also stays at the gate location. It affects the product’s appearance and the assembly line.
Causes:
- Generally, when the gate is large, too much material can remain after separation.
- Applying improper gate trimming settings.
- Poor gate design can also make it hard to clean properly.
Solutions:
- Make the gate design relatively small so that no material is left behind.
- Adjust the automatic gate shearing.
- Redesign your gate for better functionality and to leave fewer marks.
How Mold Release Agents Prevent These Defects
Using RA is a versatile solution to prevent many injection molding defects. Specifically, you can solve most surface-related defects. Besides, when you use it as an internal ingredient of the mold mix, it also solves flow and release-related problems. As you know, the mold release agents create a thin barrier between the mold surface and molten plastic. This barrier generally reduces sticking, friction, and surface damage during ejection.
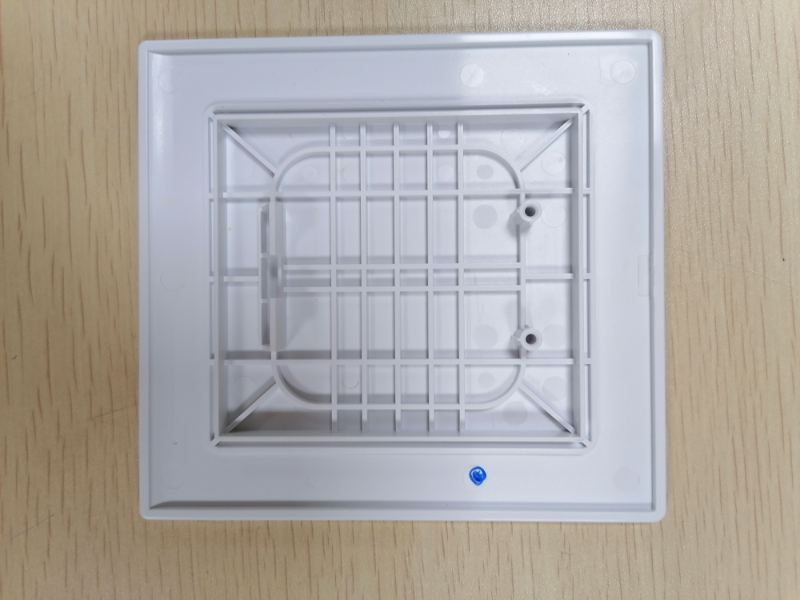
(1) Specifically, RA helps a lot by reducing flow lines, flash, burn marks, splay marks, and gate vestiges. It improves the material flow and ensures cleaner mold release.
(2) Mold release agents reduce stress during ejection. Thus, it also prevents surface delamination problems.
(3) For warping and sink marks, RA supports more consistent cooling and reduces internal stress.
(4) RA also improves resin flow inside the cavity. In some cases, it helps minimize short shots and weld lines.
Summary
Injection molding defects are not unusual. However, it becomes unacceptable when you do not know how they occur and how to prevent them. If you want to maintain the quality of plastic parts, understanding these key factors is extremely important. In this article, we discussed common injection molding defects. We have also explained how these defects occur and how to solve them.
Using mold release agents can significantly reduce many of these defects. Different types of mold release agents are used for different plastic materials. If you are interested, please contact our customer support today.