
The primary purpose of using the mold release agents is to ensure the best product quality. It also plays a crucial role in extending the mold’s life. Well, the Mold release agent typically prevents parts from sticking to the mold surface. The use of the RA normally makes demolding easier and faster. However, release agents also reduce defects, save time, and lower production costs.
There are various types of mold release agents out there. Each of them has unique applications and processes. Also, there are multiple types of mold materials. You must choose the right chemical for the right mold materials. Still, using the correct agent is not enough. You must apply it correctly.
This guide will walk you through a simple step-by-step process. You will learn how to store, apply, and maintain the mold release agents.
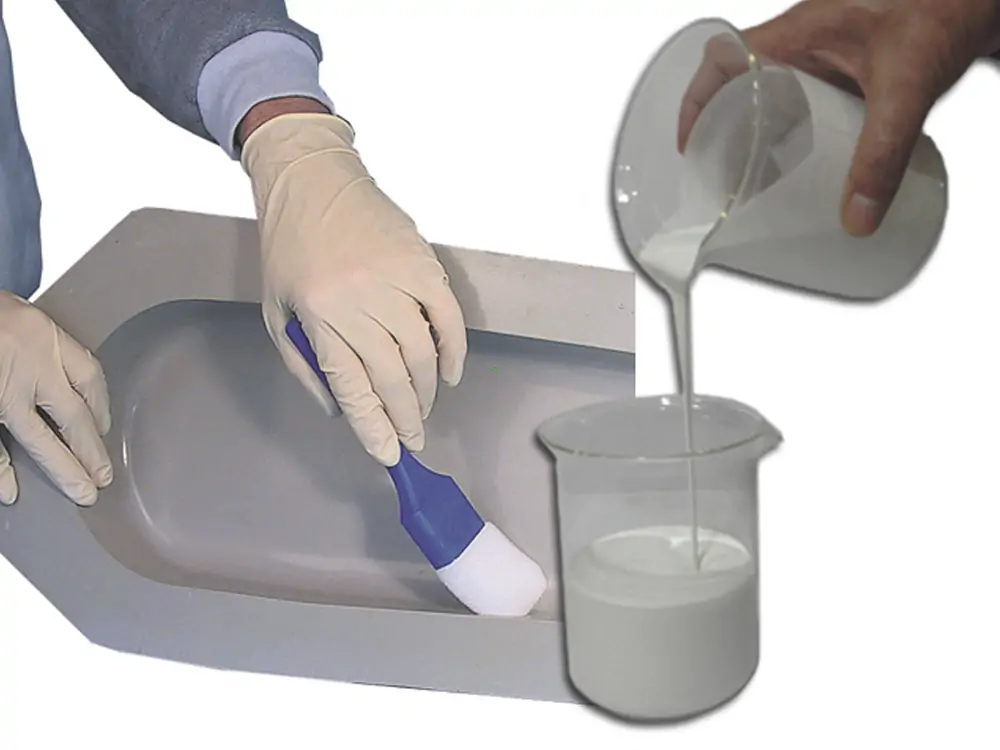
How to Use Release Agent Effectively?
When you intend to use a mold release agent, several factors come first. It starts with understanding your materials and process. You should always choose the right type of release agents for your mold and material. If it is compatible, then you may get the expected result.
Water-based and solvent-based agents work differently. You must know what suits your application best.
Clean molds always give better results. Therefore, you must always make sure the mold is free from dirt, oil, or old release agents. A clean surface helps the new release agent work properly.
How you are applying the mold release agents also matters. You must use the agent evenly and in the right amount. Too much can cause defects, and too little may not be enough, which leads to sticking. Therefore, use the correct spraying pressure or fluid levels.
Moreover, allow time for the agent to dry or cure before molding. It is one of the most crucial steps. If you are using this situation, you may not get the desired result.
Also, monitor how the agent performs over time. If you need to, you can reapply and follow basic maintenance practices.
We always recommend that you follow the correct way of applying the mold release agents. This way, you can avoid common mistakes.
Step-by-Step Process of Applying Mold Release Agents
The step-by-step process can help you avoid mistakes. It will also teach us how to ensure product quality. Each step described below will highlight the basic information. If you need more precise information, please contact our customer support team.
Step #1: Store the Release Agent Properly
The first step is to store the mold release agents properly. If you carelessly store your agents, you may face some problems while using them in the molding process. Carelessly storing them may degrade the quality of the agent, which results in sticking. Therefore, always store them in a cool and dry place.
The best storage temperature is between 32°F and 100°F. When you’re not using them, keep the containers tightly closed. Also, keep them away from heat sources, flames, or direct sunlight. Make sure there is a well-ventilated system in the room. Besides, don’t freeze them; it may decrease chemical properties.
Step #2: Properly Clean the Mold
Before using the mold, make sure it is thoroughly cleaned. There are several benefits of properly cleaning. For example, it improves product quality, provides better release properties, lengthens mold life, and reduces production delays.
You may clean the mold via media blast, dry ice blast, or chemical cleaning. Media blasting is used for surface preparation. It also removes old releases and accumulates fine particles.
Dry ice blasting is a cleaning process that utilizes solid CO₂. This method can easily remove dirt and grease, leaving no residue. On the other hand, you can use a chemical cleaning method too. Overall, select a cleaning method based on your material compatibility and ensure safety measures.
Step #3: Choose the Correct Mold Release Agent
To get the most effective result, choosing the correct mold release agent matters. There is always a compatibility issue in this case. Make sure you have the most compatible release agents for your work.
There are usually various types of mold release agents out there. Each has its specific properties and applications.
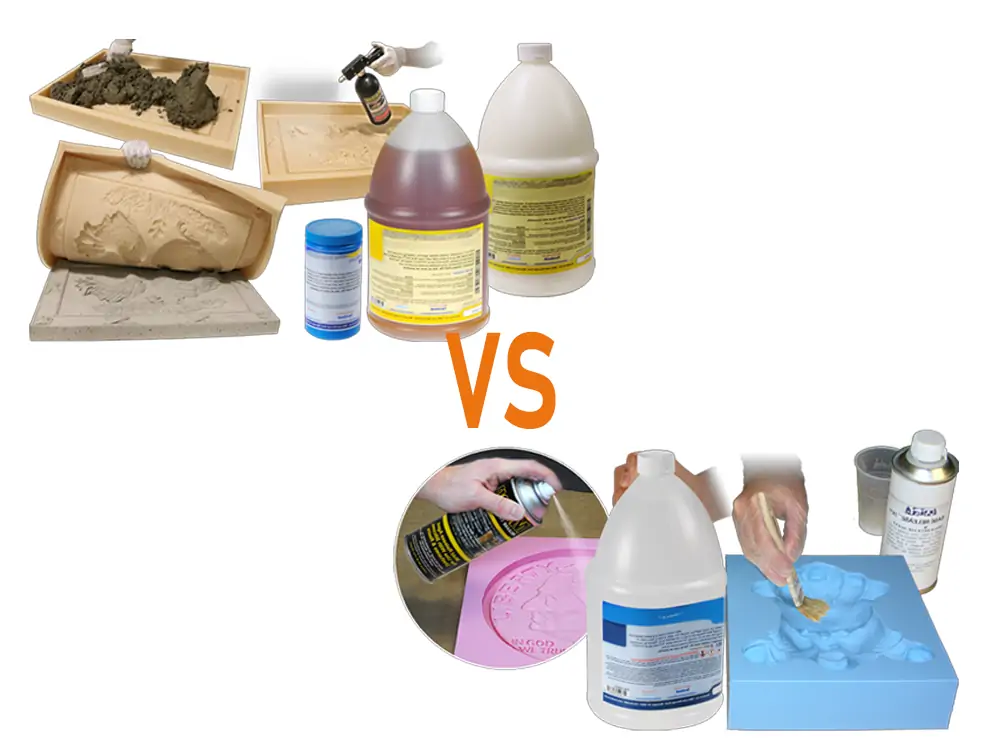
Water-based Agent
Water-based agents are pretty easy to use and safer than other options. With low odor, they are an ideal choice for most workplaces. You can utilize these agents in molding fiberglass, PU, and rotational molding. Most people prefer it as an eco-friendly solution.
Solvent-based Agent
It utilizes active release ingredients in the agent. Solvent-based agents are known for their quick drying, which lowers the production delays. But it has some hazardous threats to health and the environment.
Semi-permanent Agent
Semi-permanent agents are pretty renowned for their durability. These agents last for many cycles during the molding process. This way, it saves time, minimizes cleaning, and is ideal for large-scale projects.
Sacrificial agent
Conventional or sacrificial agents should be applied before every cycle starts. These agents are simpler to use and can be applied manually. Or you may apply them using automotive systems. Commonly used in the concrete, rubber, and plastic sectors.
To choose the right one, think about the type of material. Consider your molding process as well. Injection molding needs fast and durable agents. On the contrary, compression molding needs agents that can handle heat and pressure. Furthermore, think about the application method, like brushing, spraying, or wiping.
Step #4: Follow Proper Techniques to Apply the Mold Release Agent
Following the proper technique is equally important as choosing the right mold release agent. Spraying is the most common method in this case. While using the spray method, use a pressure of 30–40 PSI for aerosol. If you work with a fluid system, use 5–10 PSI pressure. Don’t forget to hold the spray 6–10 inches up from the mold.
For wiping, use clean and smooth clothes. Make sure the cloth does not leave fibers in the mold and apply a thin or even coat. Allow for drying and curing.
Overall, choose the method that suits your mold and the environment. Selecting the appropriate technique might improve performance and save time.
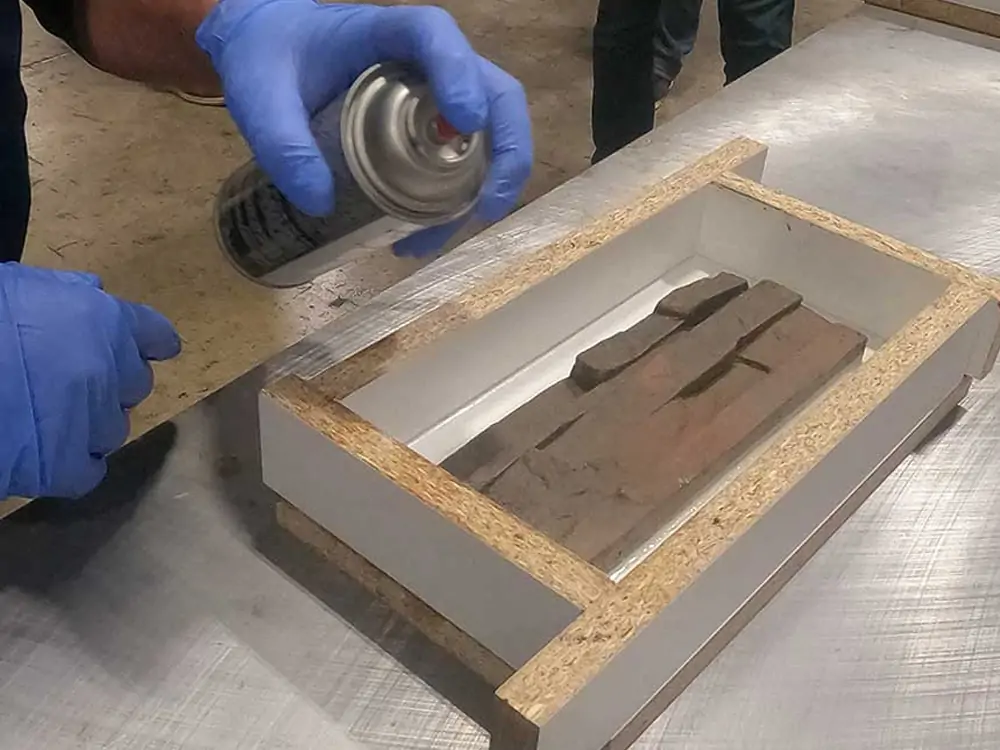
Step #5: Try to Avoid Over-Application
Over-application is one of the significant problems in molding. It may lead to some severe difficulties later. For example, overapplication can cause sticky residues on the mold. It may transfer to the molded parts, which might affect the finishing and potentially cause adhesion issues. Moreover, you may see bumps, lines, and uneven textures.
Excessive use of releasing agents can negatively impact the bonding or coating in later stages. This results in material waste, which will increase production costs. It also increases the need for frequent cleaning, which impacts production efficiency. Therefore, you should avoid using excess release agents to resolve these issues.
Step #6: Ensure Proper Drying or Curing Time
The exact drying and curing time depends on your molding agents. Each agent has different drying and curing times. As mentioned earlier, water-based agents require more time for drying than solvent agents. Therefore, select agents based on your requirements, and do not apply them until the surface is dry.
If the surface is not dry, it can cause defects in your products. Wet agents may also stick the mold to the molded part. Such behavior can lead to a buildup and damage. In contrast, proper drying helps the agent form a strong film. It ensures safer release and provides better protection. Be patient to get the best outcome.
Step #7 Basic Maintenance and Reapplication Tips
Along with the above step-by-step process, here are some extra tips on maintenance and reapplications. Always work in a well-ventilated area. It helps to remove toxic fumes or smoke and keeps you safe. Keep a distance from the spraying area and adjust your spraying method accordingly. Some agents are suitable for warm conditions, and some for cool environments.
Clean your mold regularly. Reply to the agent only when it’s needed. Always check the part surface for signs of sticking.
Frequently Asked Questions
How Long Does Mold Release Spray Take to Dry?
Most mold release spray typically takes 15 to 20 minutes to dry. However, this drying time can vary depending on the type of release agent you use. To be more specific, water-based mold release agents usually take 15 to 30 minutes.
On the other hand, solvent-based agents take 5 to 15 minutes. Semi-permanent mold release agents may take 30 mins or more. Paste or wax-based mold release agents may need 20 to 40 minutes.
How to Use Mold Release Wax?
The best way to use mold release wax is in a circular motion. You must make sure the surface looks wet to ensure complete coverage. To do this, you can use a soft cloth to spread the wax evenly. Let the wax dry completely before polishing. Once it is dry, you can buff the surface with a clean and dry cloth.
Do I Need Mold Release for Candle Making?
Mold release agents aren’t always necessary for candle making. However, if you use it, that’s good. You can get a perfect result. For flexible molds like silicone, you can often just flex the mold to release the candle. But for rigid molds, a release agent can help. It makes the removal smoother and protects the candle’s surface.