Are you planning to make something with resin but having trouble finding the right mold? Maybe store-bought molds are not the same size or design as you want. They can make you feel stuck and discouraged, but you no longer have to worry because we will teach you how to make resin molds.
Creating resin molds may seem intimidating, but it can be easier than you think. All you need is a few tools and some free time. This article will show you how to prepare your mold, select the right materials, and provide a step-by-step guide to creating your mold. After reading this article, you will know how to develop strong molds at home.
Overview of Resin Mold
Before discussing the manufacturing process, let’s first understand the basics of resin molding.
A resin mold is a hollow container that can have different shapes and designs. It has specific cavities depending on the shape of the mold. The liquid resin is filled into the mold (inside cavities). After curing, the molten resin solidifies and adopts the shape of the mold. In this way, we get part of our desired shape.
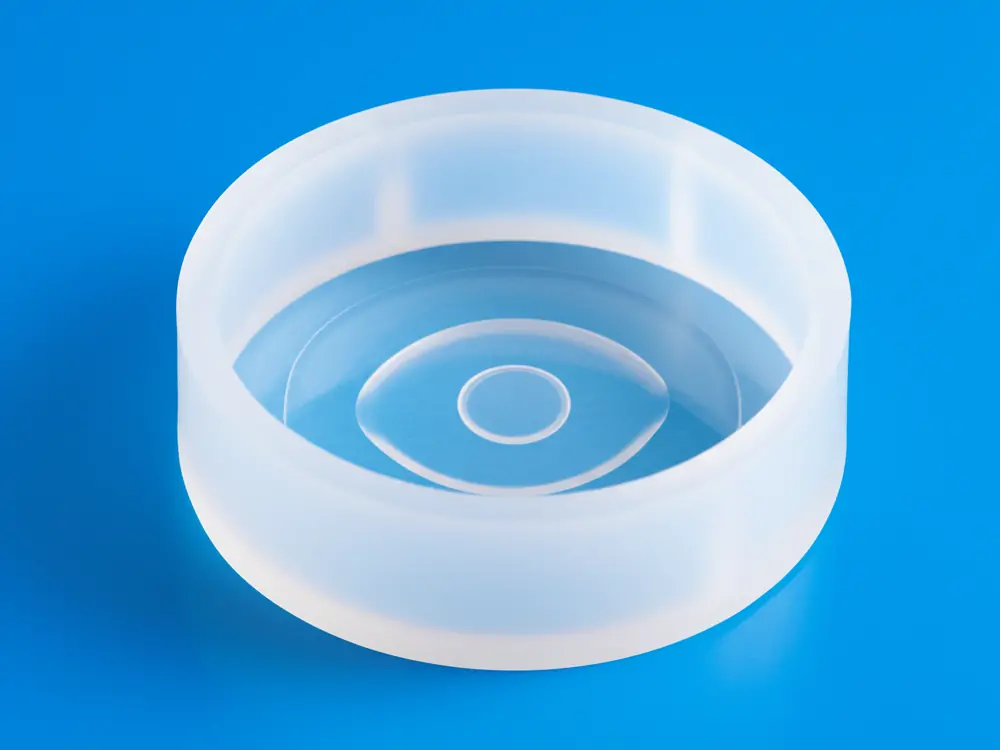
Interestingly, the resin molds are generally made of silicone materials. The reason is that this material is softer, non-sticky, and more flexible. So, ejecting the solidified resin from the mold becomes easier. As you know, metal and plastics are generally used to make molds. However, such molds are not ideal for making resin parts.
Metal molds are rigidand have no flexibility. Therefore, the resin will adhere to the surface of the mold. Ejecting this resin from the mold will be very challenging. Remember, resin molds are available in the market (pre-made). However, those molds have shape limitations, and you may not find a resin mold that fits your desired shape.
Therefore, creating your resin mold can be a great way. It will reduce the cost as pre-made molds are expensive. Additionally, you will get a mold that is 100% similar to your desired shape. I highly recommend creating a resin mold if you are a DIY enthusiast. In the section below, we will learn the whole process of making resin molds.
Materials & Chemicals Needed to Make Resin Molds
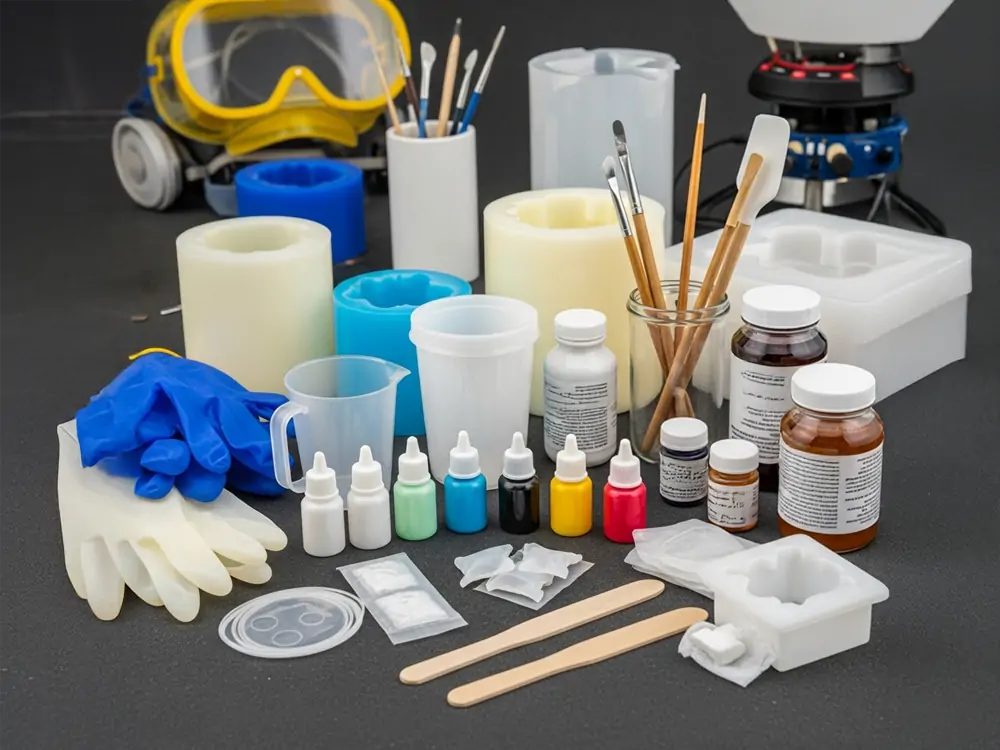
Before you start making your mold, gather all the necessary materials. This makes the project easier and helps you finish faster. Let’s take a look at what we need:
- Master Object
- Silicone Rubber
- Mixing Cups and Sticks
- Digital Scale
- Mold Box or Container
- Mold Release Spray
- Gloves and Safety Gear
- Vacuum Chamber (Optional)
How To Make Resin Molds: Step-by-Step Guide
Creating your resin molds may seem intimidating at first. However, the process of making such molds is very straightforward if you have a basic understanding. This step-by-step guide will walk you through the process clearly and easily.
Step 1: Choose and Prepare Your Master Object
Start by picking the item that you want to copy. You can choose anything you wish to copy, like a charm or a toy. Ensure the object is clean to prevent dust or dirt from contaminating your mold. Check your item for any cracks and holes; if you find any, fill them up with clay.
This will make a better and cleaner mold. Once you think it is clean, spray with a mold release agent to prevent the silicone from sticking to the master object. For best results, use a Silicone Mold Release Agent that works well with rubber molds. Dry it completely before moving on to the next step.
Step 2: Build a Mold Box
First, you will need a container to hold your object while the silicone is setting. You can use any plastic box or build a custom box using cardboard. Ensure that the box is at least 1 cm larger than your object on all sides. This is necessary to allow enough space for the silicone. If your box has gaps, use hot glue to seal it on all sides. Next, take some clay and use it to attach your object to the bottom of the box. We don’t want it to float up while we are pouring silicon in the box.
Step 3: Mix and Pour The Silicone Rubber
Begin by reading the instructions that come with your mold kit. Most kits typically work by mixing two liquids, often labeled A and B. Get a clean mixing cup and pour the liquids into the cup. Stir slowly and evenly for 2 minutes. Don’t stir too fast, because it can add bubbles to your mix. If you have a vacuum chamber, you can use it now to remove air bubbles from the mix. Pour silicone and shake the box lightly to remove any air bubbles.
Step 4: Demold and Inspect
Allow the silicone to sit and cure completely. This process typically takes anywhere from 12 to 24 hours, but the duration can vary depending on the type of silicone and the room temperature. Don’t hurry, because moving the mold too early can damage it. Once it feels firm and dry, gently remove the mold box. Carefully remove the object and check for any air bubbles or cuts in the mold. If there are any minor flaws, you can patch them using more silicone.
Step 5: Prepare the Mold for Resin Casting
First, clean your silicone mold with warm water and soap to remove any dust or leftover bits. Ensure it dries completely before proceeding, as moisture can affect the resin. Once dry, spray a light coat of mold release spray inside the mold to help with easy removal later.
Spray a light coat of Rubber or Plastic Mold Release Agent, depending on the type of resin you’re using. Set the mold on a level surface so your resin cures evenly. Now you’re ready to mix your resin. Be sure to wear gloves to protect your skin, and always work in a well-ventilated room or near a window.
Step 6: Pour the Resin
Start by pouring the correct amount of resin into a clean mixing cup. Stir it slowly and evenly to reduce the number of air bubbles. If your resin is thick or sticky, place the sealed bottle in warm water for a few minutes to thin it slightly. Once it’s ready, slowly pour the resin into the mold. Use a toothpick or a skewer to guide the resin into small or narrow spaces. If bubbles rise to the surface, pop them gently using a lighter or a heat gun.
Step 7: Demold and Finish Your Casting
Once the resin is fully cured, gently peel the mold away from the casting. Go slow so you don’t damage the piece or the mold. If you use mold release spray, the casting should come out easily. Check your piece for any rough spots or extra resin on the edges. You can trim those with scissors or a craft knife. Use fine sandpaper to smooth any sharp areas. If you prefer, you can also paint your piece or seal it with a glossy topcoat to give it a shine.
Step 8: Store and Maintain Your Mold
After each use, clean your mold gently with warm, soapy water to remove any leftover resin or dust. Avoid using sharp tools or scrubbing too hard, as that can damage the surface. Rinse it well and let it dry completely on a flat surface. Always store the mold flat to help it keep its shape. Avoid folding, bending, or stuffing it into tight spaces. Store it in a cool, dry place out of direct sunlight to prevent the silicone from breaking down over time.
Frequently Asked Questions
Can I make my resin molds?
Yes, you can make a high-quality resin mold at home. For this, you must have silicon material, and then pour it into the custom-made mold. After the curing process, you’ll get a unique resin mold.
Why is silicone used for resin molds instead of plastic or metal?
Silicon is soft and non-sticky. Therefore, silicon is used to make a resin mold. When you pour liquid resin into a silicone mold, its ejection or removal will be easier. In plastics and metal molds, ejection of resin will be very challenging. Therefore, silicon is preferred for resin mold.
How long does it take for the resin to cure in the mold?
The curing of resins depends on their type. For example, the epoxy resin cures in around 30 to 40 hours. On the other hand, UV resins cure in less than five minutes. Each resin type has its unique properties and curing duration.
Conclusion
Resin molds are of utmost importance for making resin parts and products. However, the molds available for purchase on the market are costly. Using them to make small resin parts can increase their cost. Right? Therefore, I recommend that you manufacture a resin mold yourself.
Interestingly, this DIY process is both fun and easy to follow, provided you have a basic understanding. In this article, I’ve discussed all the steps involved in making resin molds. Remember to always use silicone rubber when creating a functional mold for resin. By following the steps mentioned above, you’ll complete the DIY project of making your resin molds.